general
Overview
Salt Edge supplies a set of SDKs that can be used to build mobile and desktop apps. Right now we have the following libraries:
Authentication
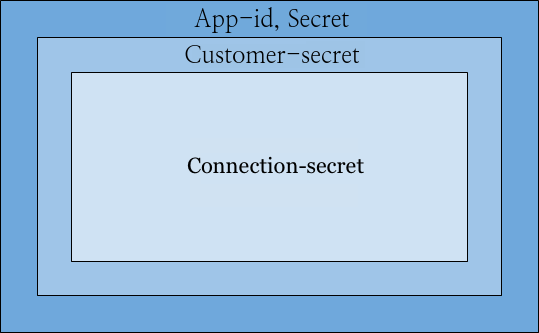
All of the resources queried through the API are protected by 4 different headers, on different levels of security, as shown on the diagramm below:
App ID and Secret
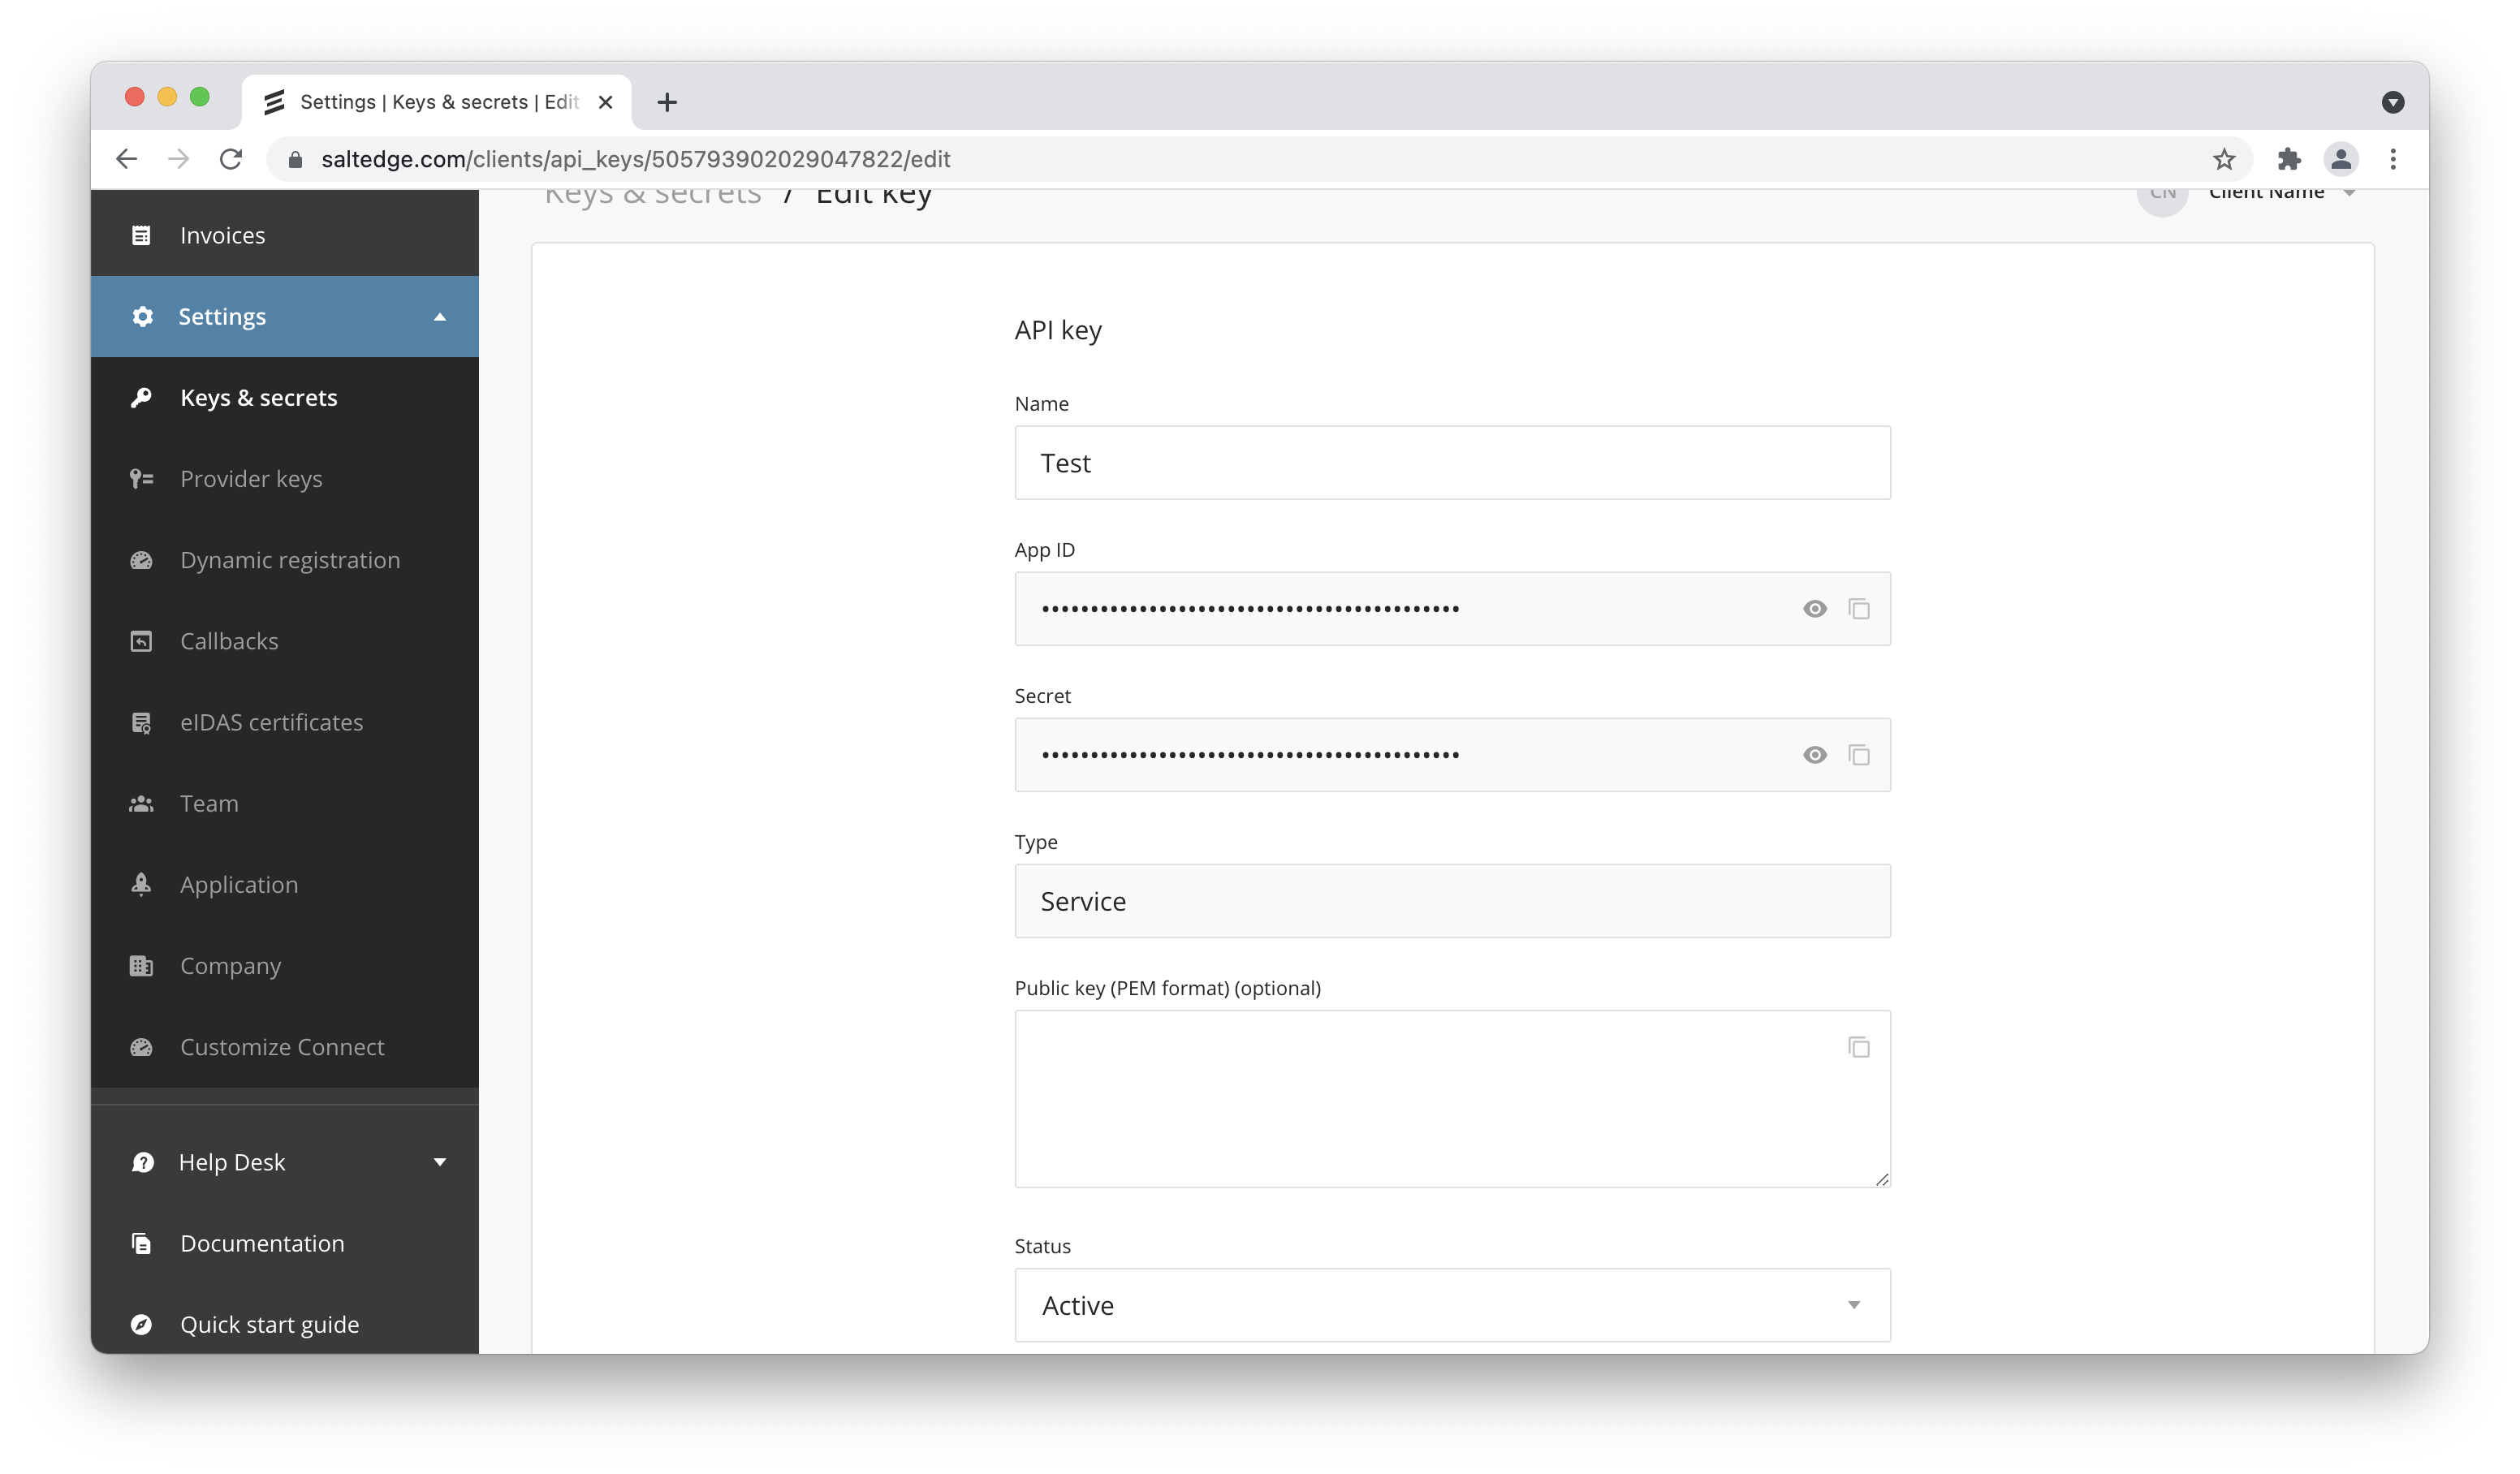
The App-id and Secret headers should be passed in with every request. Keep in mind that you can obtain these keys on your API keys page.
Here’s an example request listing all the countries that the API currently supports.
Customer secret
In order to create connect_sessions,
connections and
oauth providers,
your app should pass the Customer-secret header inside the request, so the API
can identify which customer the entity belongs to.
Connection secret
Since an app should be able to query information only about the connections it created, requests that query or modify connections should be signed with a Connection-secret header.
Setup account
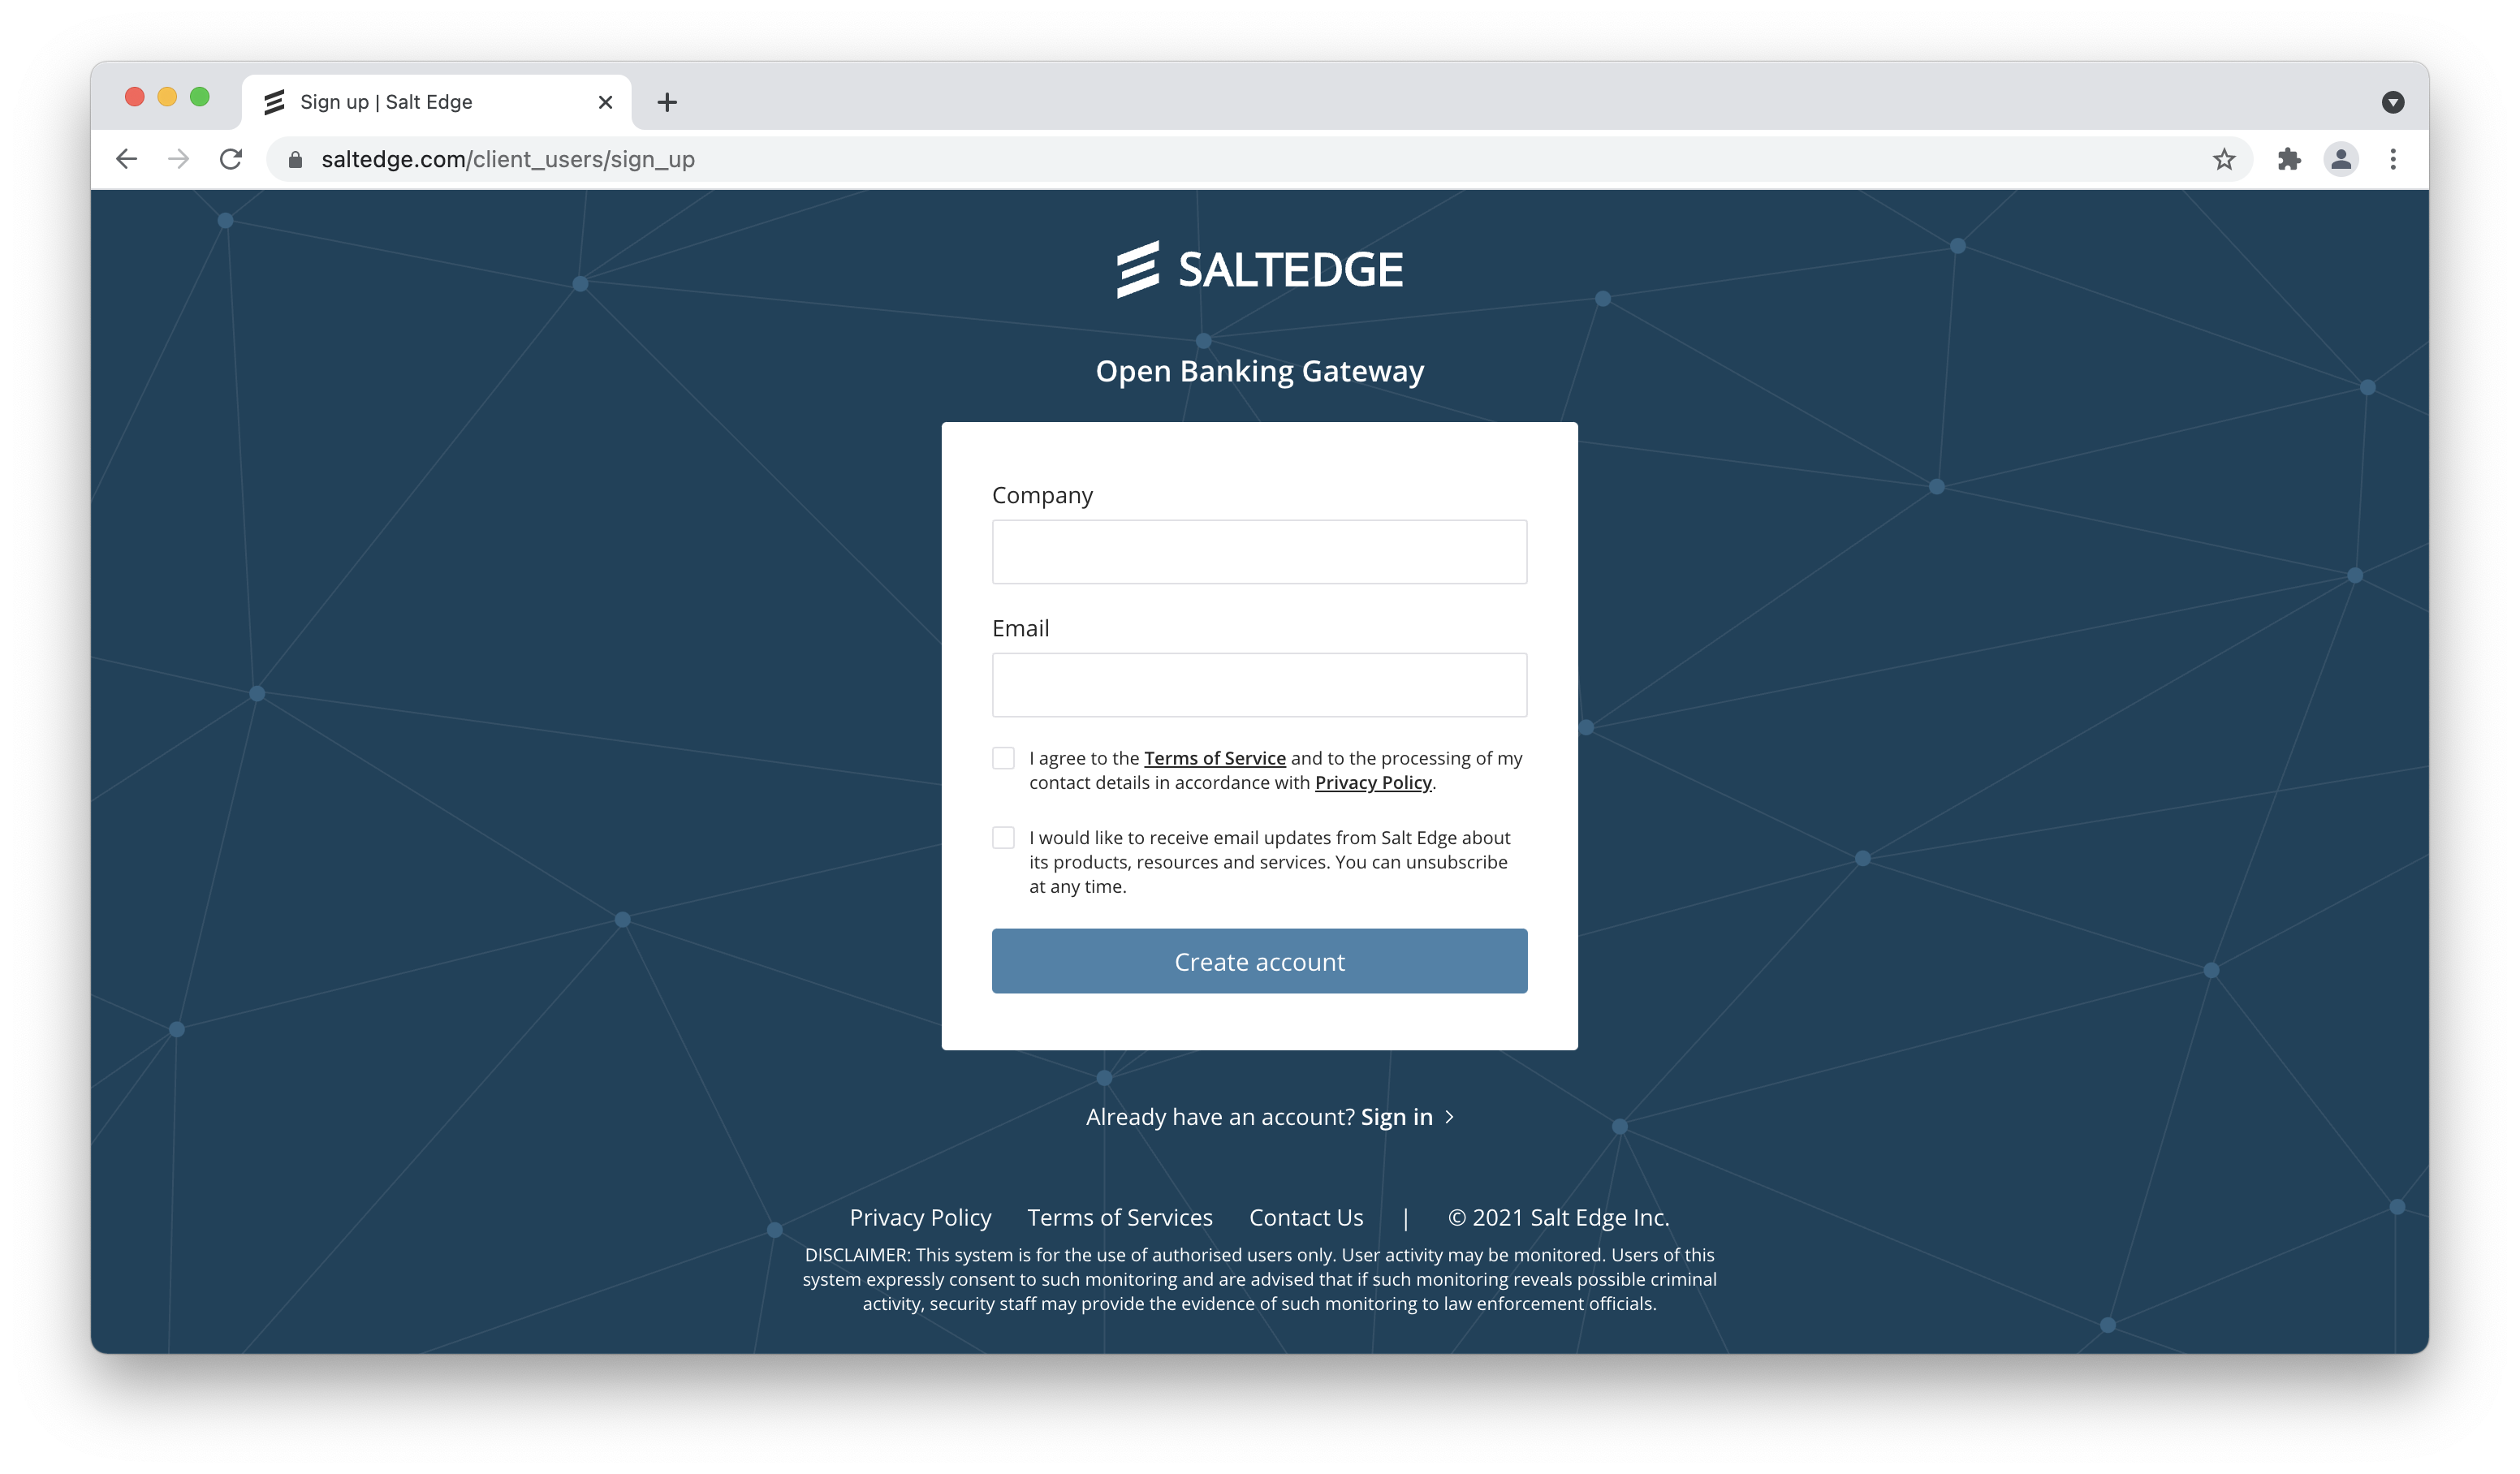
Sign Up for Salt Edge
- Go to the Sign up page and sign up for a Salt Edge account. You will need to give your app a name, provide us with an email and a password you will use to authenticate to the admin page.

Confirm your Email.
Add your technical team members who will work on the next integration steps on the Team page and choose the specific roles for them.
Create Api Key
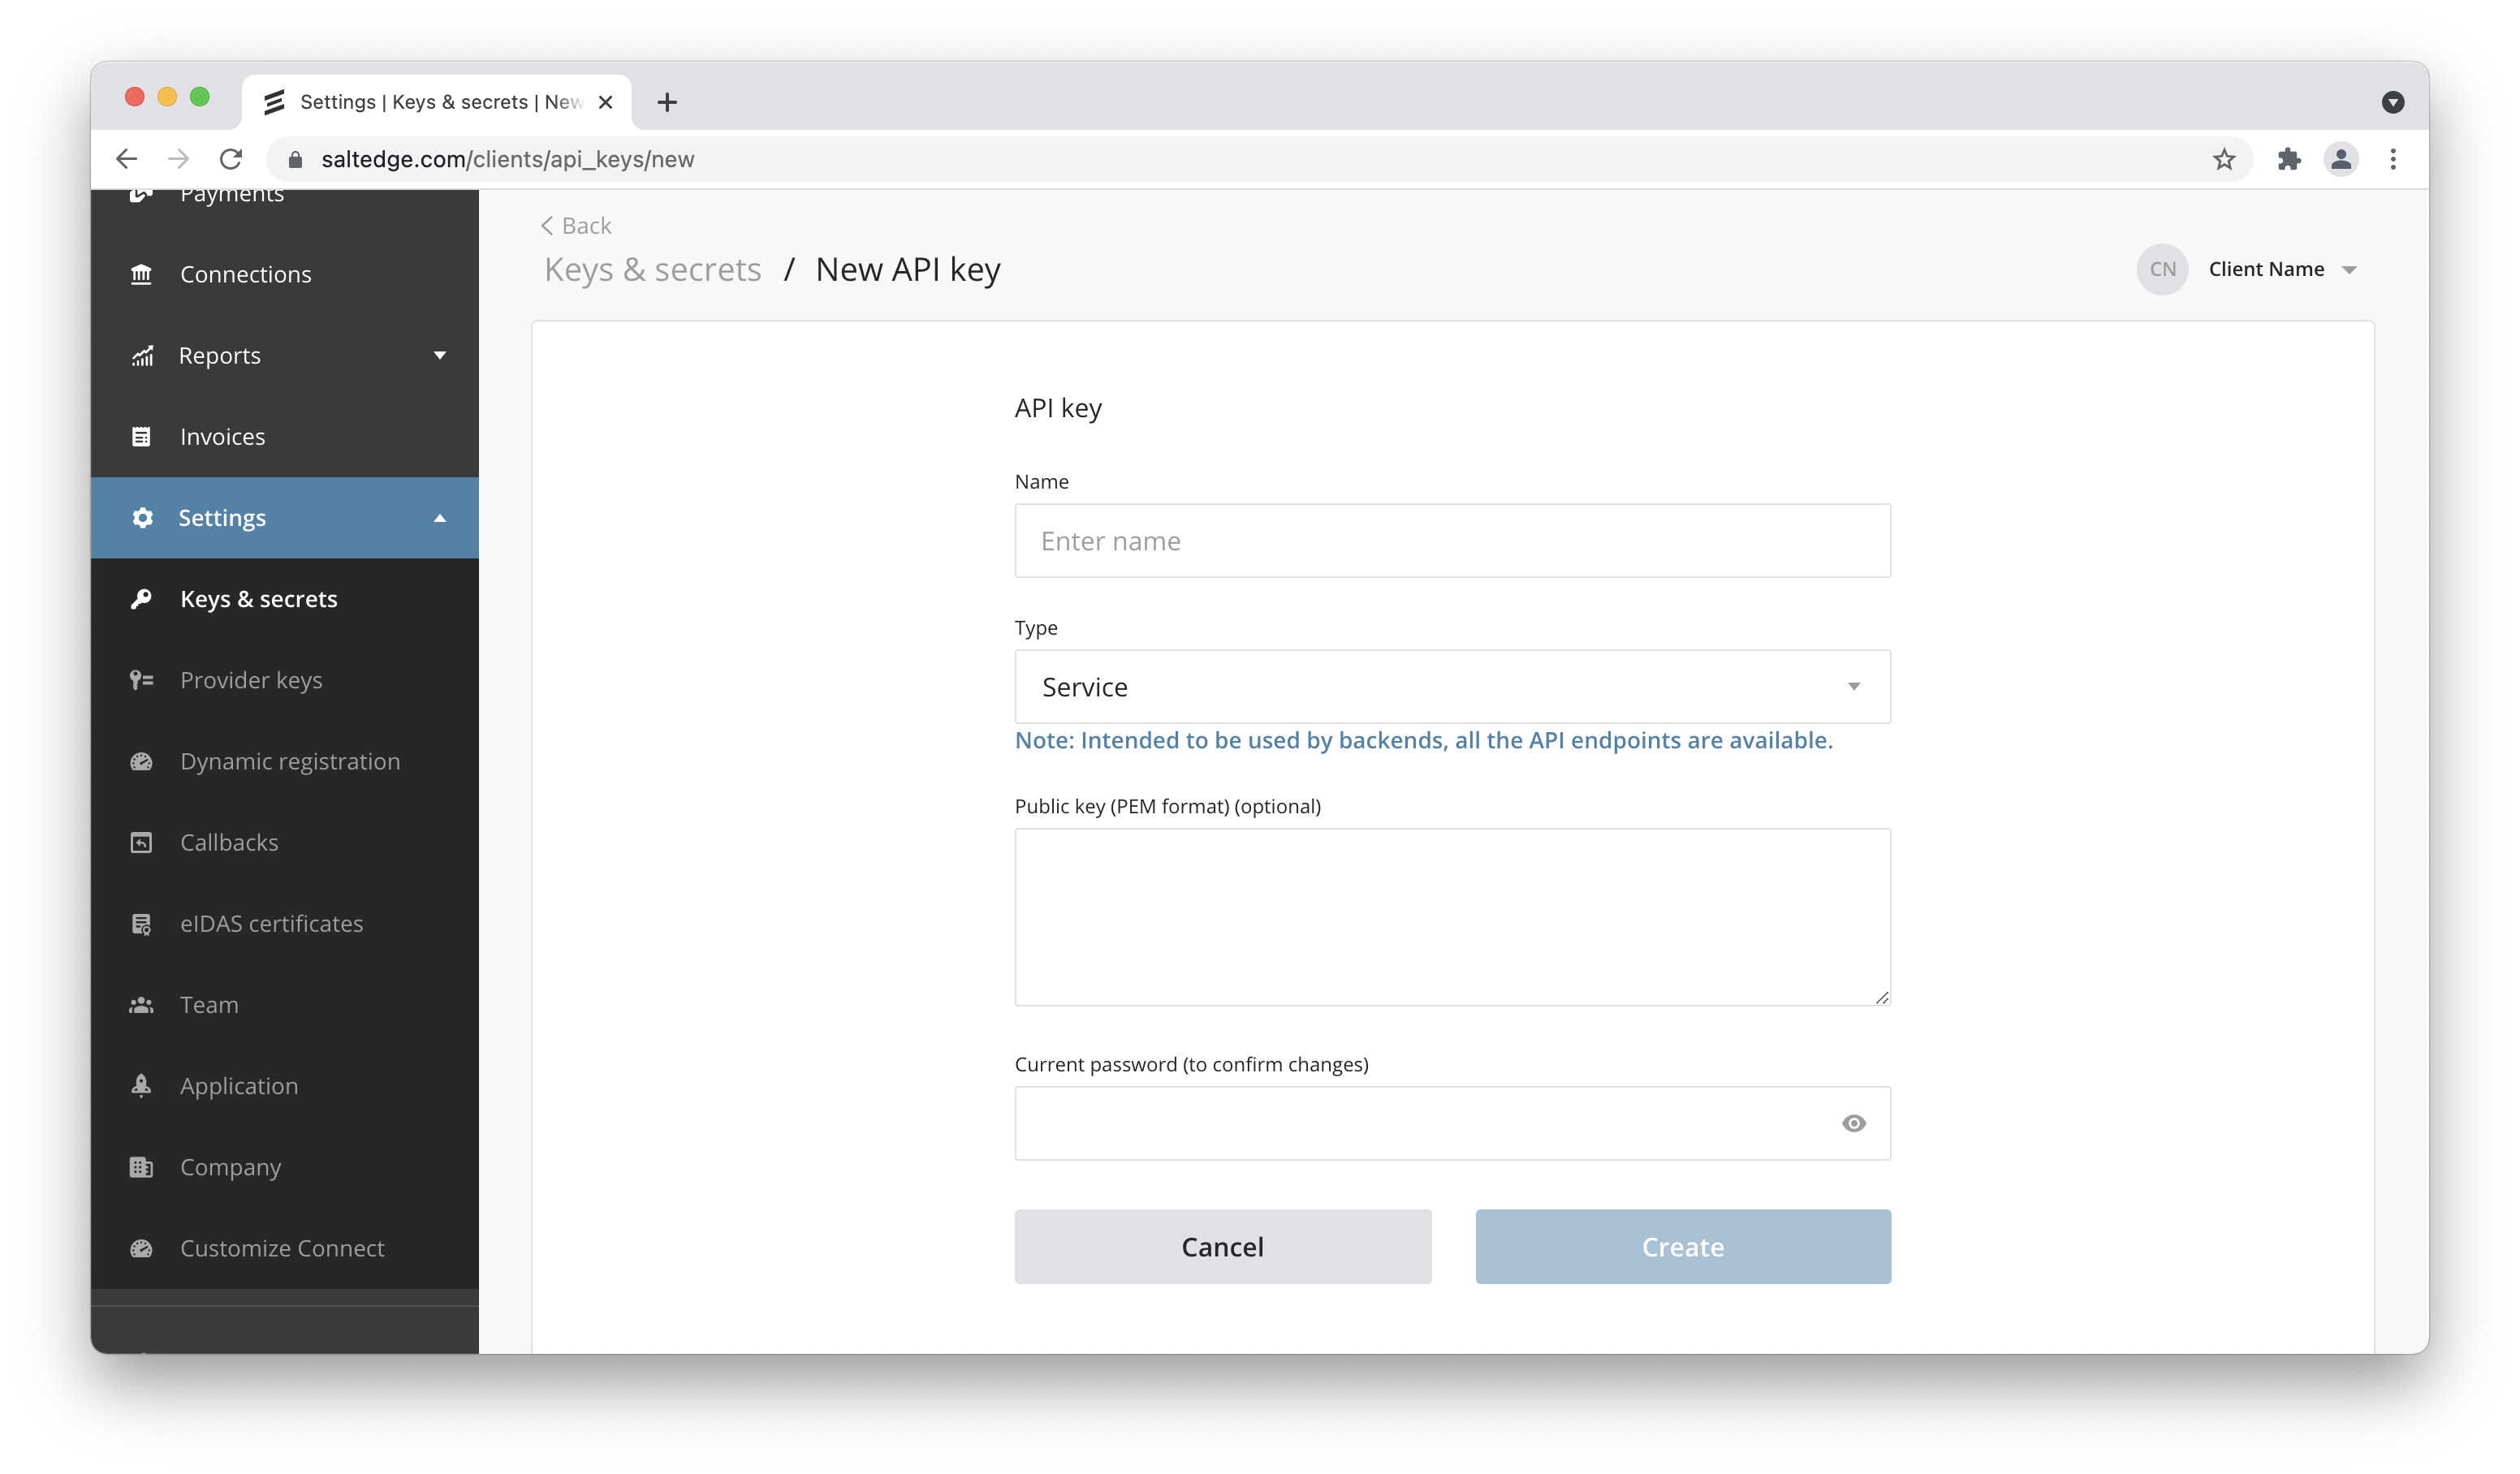
Any request to Salt Edge API is authenticated, so before we are able to fetch any data we need to create API keys.
To do that, visit https://www.saltedge.com/keys_and_secrets and create an App API key.


ios
Overview
The Salt Edge iOS SDK makes it quick and easy to build an excellent experience in your iOS app.
Before you start, make sure that you have your account setup. For that, please follow the steps in Setup account section
Features
A handful of classes to help you interact with the Salt Edge API from your iOS / macOS app. Last SDK version (3+) supports Salt Edge API v5.
Quick Start
Install SDK
We recommend installing the Salt Edge iOS SDK using a package manager such as Cocoapods or Carthage. If you link the library manually, use a version from our releases page.
Requirements
- iOS 12.0+ / macOS 10.13+
- Swift 5+
Installation via CocoaPods
Add the pod to your Podfile pod 'SaltEdge-iOS-Swift', '~> 3.3.3'
Install the pod $ pod install
Import SDK into your app import SaltEdge
Init SDK
Set appId and appSecret for SERequestManager
To setup Salt Edge API, call in AppDelegate.swift:
SERequestManager.shared.set(appId: appId, appSecret: appSecret)
You can find your appId and appSecret in at your secrets page (Eligible only for Salt Edge API). For more information about authentication headers click here.
Set your customer secret for SERequestManager:
If you didn’t yet created a customer which you would like in your app, then you can use the following snippet to create a customer.
let params = SECustomerParams(identifier: "your-customer-unique-id")
SERequestManager.shared.createCustomer(with: params) { response in
  switch response {
  case .success(let value):
    // Save customer secret to your storage and the link it with API manager
    SERequestManager.shared.set(customerSecret: value.data.secret)
  case .failure(let error):
    // Handle error
  }
}
Create connection using Salt Edge connect
Before you start make sure that you set appId, appSecret, customerSecret for SERequestManager as described in init SDK section.
Salt Edge SDK has SEWebView element to help create a connection using Salt Edge connect.
To create a connection using Salt Edge connect you will need to obtain connect URL first:
Instatiate SEWebView or create it as IBOutlet in your ViewController.
You will need at some minimal set of params:
possible values are holder_information, account_details, transactions_details
to receive callback with result in URL set as iframe
Set return to URL so you can trigger web view close when connection is finished
Make a request to create connect session route and on succesfull result navigate to connectUrl
let connectSessionsParams = SEConnectSessionsParams(
    consent: SEConsent(scopes: ["account_details", "transactions_details"]),
    javascriptCallbackType: "iframe",
    attempt: SEAttempt(returnTo: "your-return-to-url")
)

SERequestManager.shared.createConnectSession(params: connectSessionsParams) { response in
    switch response {
        case .success(let value):
            guard let url = URL(string: value.data.connectUrl) else { return }

            let request = URLRequest(url: url)
            webView.load(request)
            webView.isHidden = false
        case .failure(let error): // Handle error
    }
}
Get result when connection is finished
Let your view controller conform to the SEWebViewDelegate protocol.
class MyViewController : UIViewController, SEWebViewDelegate {
    // ... snip ...

    func webView(
        _ webView: SEWebView,
        didReceiveCallbackWithResponse response: SEConnectResponse
    ) {
        switch response.stage {
        case .success:
            // Connection successfully connected
        case .fetching:
            // Connection is fetching. You can safe connection secret if it is present.
            // To obtain connection secret use response.secret
        case .error:
            // Handle error
        }
    }

    func webView(_ webView: SEWebView, didReceiveCallbackWithError error: Error) {
      // Handle error
    }

    func webView(_ webView: SEWebView, didHandleRequestUrl url: URL) {
        if url.absoluteString == "your-return-to-url" {
            webView.isHidden = true
        }
    }
}
Get accounts and transaction
Now when you have connection secret you can get accounts and transactions
Get all accounts for connection secret
SERequestManager.shared.getAllAccounts(for: connection.secret, params: nil) { response in
    switch response {
    case .success(let value):
        // value.data is type of [SEAccount]
    case .failure(let error):
        // Render error
    }
}
The following method can make more than one request. If there are more than one page of accounts.
Get all transactions for connectionSecret and account.id
let params = SETransactionParams(accountId: account.id)
SERequestManager.shared.getAllTransactions(for: connectionSecret, params: params) { response in
    switch response {
    case .success(let value):
      // value.data is a type of [SETransaction]
    case .failure(let error):
        // Render error
    }
}
android
Overview
The Salt Edge Android SDK makes it quick and easy to build an excellent experience in your Android app.
Before you start, make sure that you have your account setup. For that, please follow the steps in Setup account section
Features
A handful of classes to help you interact with the Salt Edge API from your Android app. Current SDK supports access to Salt Edge API v5.
Quick start
Install SDK
Requirements
- JDK 8
- Android SDK (minimal sdk version - Android 4.0.2 (15))
- Play Services installed
- App ID and App Secret
How to add SDK to your project
Add Java 8 support to application build.gradle
android {
    compileOptions {
        sourceCompatibility JavaVersion.VERSION_1_8
        targetCompatibility JavaVersion.VERSION_1_8
    }
}
Add maven repository to application build.gradle
repositories {
    maven {
        url 'https://raw.github.com/saltedge/saltedge-android/master/repo/'
    }
}
Add SDK dependency to application build.gradle
implementation ('com.saltedge.sdk:saltedge-library:3.2.1@aar') {
    transitive = true
}
Init SDK
Before any usage of SDK you should provide set appId and appSecret.
For initializing access to Salt Edge API use:
SaltEdgeSDK.getInstance().init(applicationContext, appId, appSecret, returnToUrl, loggingIsEnabled);
You can find your appId and appSecret in at your secrets page (Eligible only for Salt Edge API). For more information about authentication headers click here.
Create new customer
A customer represents a single end-user of the Salt Edge API. The customer uses the API to create Connections, i.e. bank connections, that are further used to aggregate the customer’s financial data. You should create customer and receive customer’s secret token.
Random string which identify user on current app instance .
private void createCustomer() {
    String customerIdentifier = "customerIdentifier";
    SERequestManager.getInstance().createCustomer(customerIdentifier, new CreateCustomerResult() {
        @Override
        public void onSuccess(String secret) {
            //save customer's secret
        }

        @Override
        public void onFailure(String errorResponse) {
            //handle error
        }
    });
}
Create connection using Salt Edge connect
Before you start make sure that you set appId, appSecret for SERequestManager and obain customerSecret as described in init SDK section.
To create a connection using Salt Edge connect you will need to obtain connect URL first:
unique customer secret
possible values are holder_information, account_details, transactions_details
private void createConnectSession(String customerSecret, String[] consent) {
    HashMap<String, Object> dataMap = new HashMap<>();
    dataMap.put("consent", consent);
    SERequestManager.getInstance().createConnectSession(
        customerSecret,
        dataMap,
        new ConnectSessionResult() {
            @Override
            public void onSuccess(String connectUrl) {
                // connectUrl - This is the URL you should show in WebView to create the connection.
            }

            @Override
            public void onFailure(String errorMessage) {
                //handle error
            }
        }
    );
}
Display Salt Edge Connect page
After your application has received a connectUrl for connecting or reconnecting a connection, you can redirect your user to the Salt Edge Connect WebView. There, they will see a screen that lets them pick a country and a provider. Your user will also be asked to input credentials and, if needed, any of the interactive credentials. After doing this, you will obtain a connectionSecret.
private void goToURL(String connectUrl, View view) {
    WebView webView = (WebView) view.findViewById(R.id.webView);
    SEWebViewTools.getInstance().initializeWithUrl(activityContext, webView, connectUrl,
        new SEWebViewTools.WebViewRedirectListener() {

            @Override
            public void onConnectSessionSuccessStage(String connectionId, String connectionSecret, String rawJsonData) {
                //connection finished sucessfully. save connectionId and connectionSecret.
            }

            @Override
            public void onConnectSessionErrorStage(String rawJsonData) {
                //connection finished with error. Show the error.
            }

            @Override
            public void onConnectSessionFetchingStage(String connectionId, String connectionSecret, String apiStage, String rawJsonData) {
                //connection is on fetching stage. save connectionId and connectionSecret for connection process resume.
            }

            @Override
            public void onConnectSessionStageChange(Saltbridge result, String rawJsonData) {
                //connection changed stage but it is not SUCCESS, ERROR or FETCHING stage.
            }

            @Override
            public void onRedirectToReturnUrl(String url) {
                //Connection model updated due to some actions
            }
        }
    );
}
Get accounts and transaction
Now when you have connection secret you can get accounts and transactions
Get all accounts for connection secret
unique customer secret
secret of connection which data should be fetched
SERequestManager.getInstance().fetchAccounts(
    customerSecret,
    connectionSecret,
    new FetchAccountsResult() {
        @Override
        public void onSuccess(ArrayList<SEAccount> accounts) {
            //show accounts
        }

        @Override
        public void onFailure(String errorResponse) {
            //handle error
        }
    }
);
The following method can make more than one request. If there are more than one page of accounts.
Get all transactions for connectionSecret and account.id
unique customer secret
secret of connection which data should be fetched
ID of account of connection which data should be fetched
ID of transaction from which should be collected result optional
SERequestManager.getInstance().fetchAllTransactions(
    customerSecret,
    connectionSecret,
    accountId,
    fromTransactionId,
    new FetchTransactionsResult() {
        @Override
        public void onSuccess(ArrayList<SETransaction> transactions) {
            //show transactions
        }

        @Override
        public void onFailure(String errorResponse) {
            //handle error
        }
    }
);
The following method can make more than one request. If there are more than one page of tranasactions.
